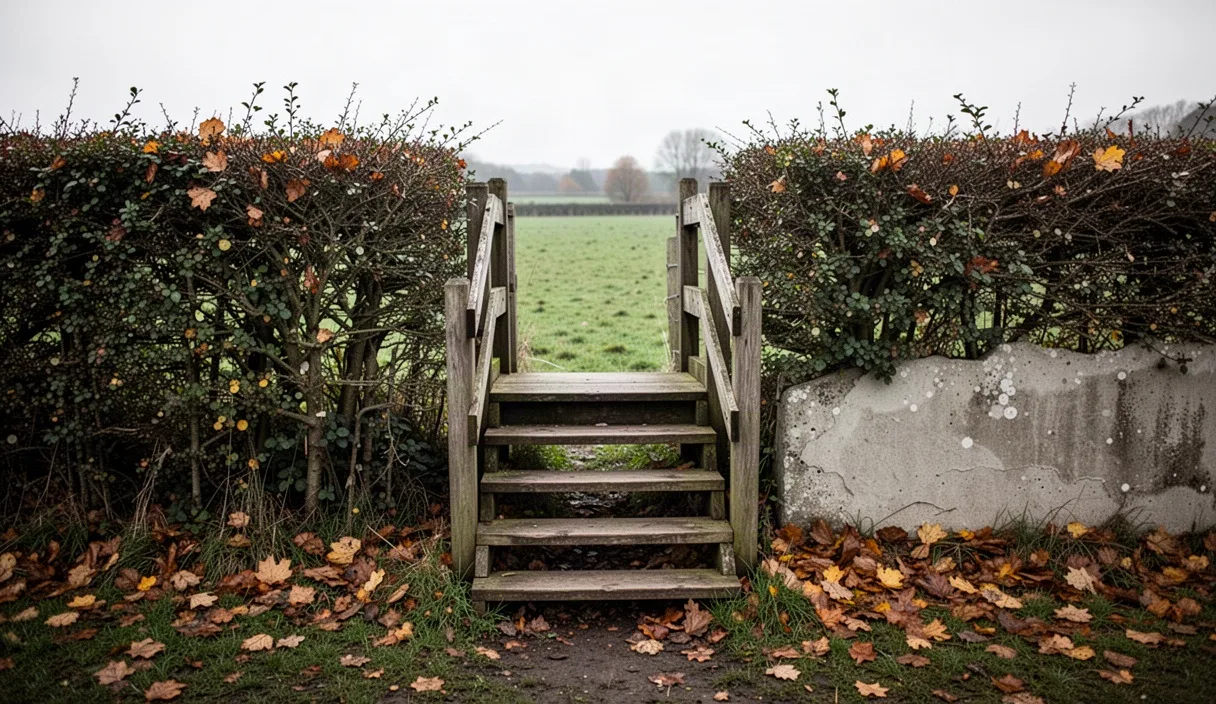
There's a particular sound a bad stile makes: a wet, splintering groan as your boot lands on the step, followed by the sinking realisation you're about to go through it. Anyone who's walked a footpath crossing farmland in Shropshire or the Yorkshire Dales knows the type. Most stiles fail not because they were badly designed to begin with, but because nobody kept an eye on them once the wood met a British winter.
If you're a landowner with a public right of way crossing your fields, a stile is often your responsibility to maintain, sometimes shared with the local highway authority depending on the path's status. This checklist walks through building one properly and, just as importantly, keeping it safe year after year. It's not a substitute for checking your specific obligations with your local council's rights of way team, but it covers the practical groundwork.
Choosing timber that survives a British winter
Softwood straight off the shelf at a builders' merchant will rot within three or four seasons if it's untreated and sitting in wet clay. For stiles, the timber that earns its keep is pressure-treated softwood rated for ground contact, or better still, oak. Oak heartwood has natural tannins that resist fungal decay, and a well-cut oak stile can outlast three softwood replacements, even though the upfront cost is noticeably higher.
Larch is a reasonable middle ground. It's more weather-resistant than spruce or ordinary pine, and it's often available locally from smaller sawmills in Wales and the West Country at a lower price than oak. Whatever you choose, insist on timber treated to Use Class 4 if it's going into the ground, meaning it's rated for permanent contact with soil or fresh water.
Avoid anything that's been kiln-dried to a glossy finish and sold as "decking grade" for the horizontal step boards. Decking timber is often too smooth underfoot once damp, and October mud on a smooth board is how ankles get twisted. A rougher-sawn finish grips better in the wet.
Quick comparison
| Timber type | Typical lifespan outdoors | Relative cost |
|---|---|---|
| Untreated softwood | 3 to 5 years | Low |
| Pressure-treated softwood (Use Class 4) | 10 to 15 years | Moderate |
| Larch | 12 to 18 years | Moderate to high |
| Oak | 25 years or more | High |
Basic dimensions for a safe step stile
The most common design, a simple step stile over a post-and-rail or stock fence, needs consistent, sensible proportions or people will misjudge the climb, especially in low light or rain. The step height from ground to first tread should sit around 300mm, with a second step, if used, no more than 300mm above that. Going higher than roughly 450mm per step starts to feel like a genuine climb rather than a step-over.
The top rail, the bit you actually swing your leg over, generally sits between 900mm and 1000mm above the top step. Any lower and taller walkers catch their hip; any higher and it becomes awkward for children or anyone with a knee that doesn't bend the way it used to.
Width matters more than people think. A step board should be at least 250mm deep, front to back, so a size 10 boot has somewhere to land properly rather than perching on the edge. If you're building for a path used by dog walkers, consider whether a dog gate alongside the stile might actually reduce wear and complaints more than the stile design itself.
- Step height: 250mm to 300mm from ground level
- Second step (if fitted): no more than 300mm above the first
- Top rail height: 900mm to 1000mm above the top step
- Step depth: minimum 250mm front to back
- Post spacing either side of the crossing point: roughly 1.2m to 1.5m
Tools and fixings you'll actually need
A stile build doesn't demand a workshop full of kit, but a few tools make the difference between a job that lasts and one that's back on your to-do list by spring. You'll want a post-hole digger or auger rather than a spade alone; digging a clean 600mm hole by hand with a spade in heavy clay is a miserable afternoon compared with fifteen minutes using a two-person auger.
For fixings, use galvanised or stainless coach screws rather than nails wherever you're joining structural timbers, particularly the step brackets and top rail joints. A 100mm coach screw with a washer holds far better under repeated foot traffic than a nail, which will work loose within a year or two of people climbing over it. Buy galvanised, not plain zinc-plated, since plain zinc rusts through within a couple of winters in exposed farmland.
A spirit level and a decent panel saw or circular saw round out the essentials. If you're setting posts in concrete, a small mixer or at minimum a mixing tub and a strong back are worth the effort, because hand-mixing a full postcrete bag in a bucket is slow and inconsistent.
| Tool or fixing | Purpose |
|---|---|
| Post-hole auger | Digging clean, deep holes for main posts |
| Galvanised coach screws (100mm) | Fixing step boards and rails securely |
| Postcrete or similar fast-set concrete | Anchoring posts in loose or wet ground |
| Spirit level | Keeping steps and rails true |
| Wood preservative (end-grain treatment) | Sealing cut ends after sawing |
Setting posts so they don't work loose
Post movement is the single biggest cause of stile failure, and it's almost always down to shallow setting or poor drainage around the base. The main uprights should go in at least 600mm deep, more if your soil is soft or waterlogged for long stretches, which describes a fair bit of lowland pasture from November through March.
Backfilling with a fast-set postcrete works well in most soil types and sets hard within an hour, letting you carry on building the same day. In heavier clay, though, it's worth adding a layer of pea gravel or hardcore at the bottom of the hole first, roughly 100mm, so water draining down the post doesn't simply pool at the base and rot the timber from underneath.
Check that each post is plumb in two directions with a spirit level before the concrete sets, not after. Once postcrete has gone off, correcting a leaning post means digging it out entirely, which nobody wants to do twice on the same afternoon.
A seasonal inspection checklist
A stile that was solid in June can be a different matter by January, once frost heave, waterlogging and general wear have had their way with it. Walking your paths at least twice a year, ideally in early autumn before the wet sets in and again in early spring once the frosts have passed, catches most problems before they become dangerous.
- Push and pull each post to check for movement at ground level
- Look for splitting or soft, spongy patches on step boards, especially where water tends to pool
- Check coach screws and brackets haven't rusted through or worked loose
- Clear back nettles, brambles or long grass that hide the base of the stile from approaching walkers
- Test the top rail for wobble, a common early sign of a joint failing
Farmers in areas with heavy stock, sheep leaning on fences near a stile in particular, often find the surrounding fence sags faster than the stile itself, so it's worth checking the adjoining rails and wire while you're there.
Signs it's time to replace rather than repair
Repairing a single rotten step board is straightforward and cheap. But there comes a point where patching a stile is throwing good money after bad, and it's worth recognising that point before someone gets hurt on it.
If a post has visible rot more than 50mm into the timber when you press a screwdriver into it, or if it's moved at the base despite a firm concrete set, replacement is the safer route rather than trying to shore it up. Similarly, if two or more structural joints, not just the step boards, are failing at once, that's usually a sign the whole structure has reached the end of its working life rather than needing another round of running repairs.
As a rough guide, if a stile is more than 15 years old and built from softwood, it's worth budgeting for a full rebuild rather than continual patching, since the timber underneath the visible surface is likely further gone than it looks from above ground.
Common mistakes
The most frequent error is setting posts too shallow to save time, which almost guarantees movement within two winters. A close second is skipping end-grain treatment on cut timber, leaving raw, untreated wood exposed to soak up rain at every joint. Also common: building steps too narrow or too high because the builder judged proportions by eye rather than measuring, which then confuses every walker who comes after.
Next steps
If you're planning a new stile or a rebuild, start by checking with your local highway authority or national park office whether the path has any specific design requirements, since some upland or access land paths have particular guidance on step height and gate alternatives. Beyond that, budget for oak or treated softwood over the cheapest option, dig deeper than feels necessary, and put a reminder in your diary for a spring and autumn check. A stile that's inspected twice a year rarely surprises anyone, which is really the whole point of building one properly in the first place.