
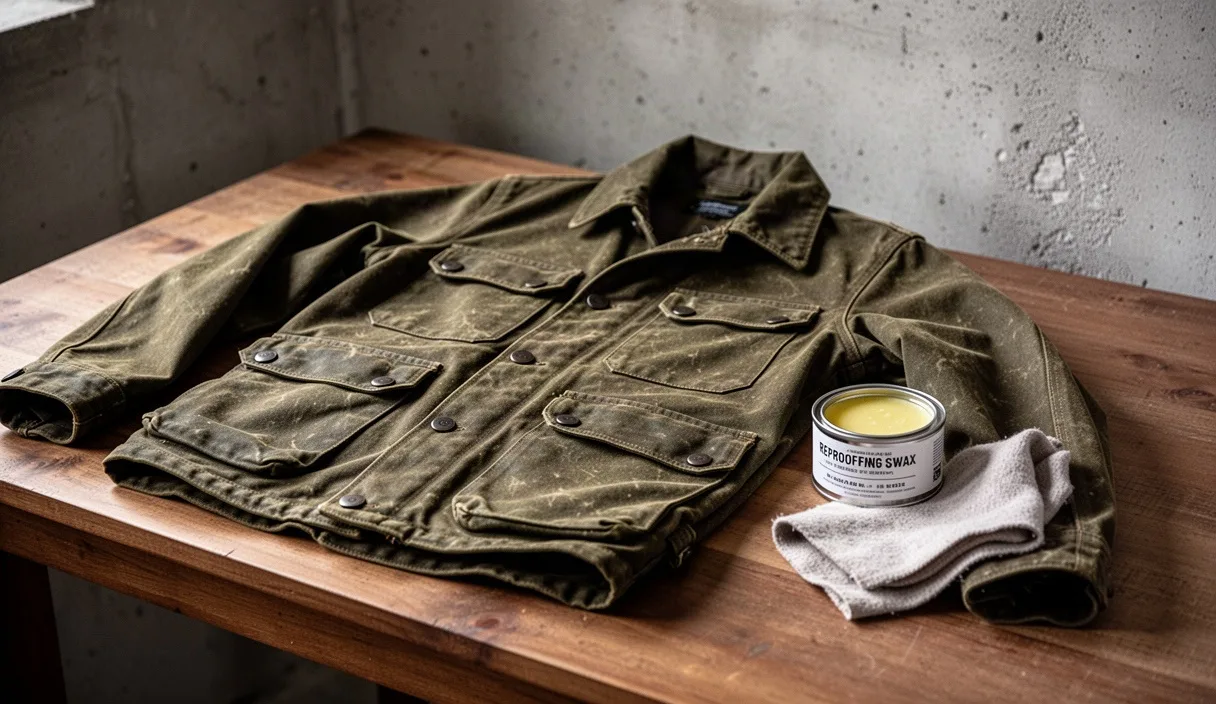
There's a particular smell that clings to a waxed jacket that's earned its keep: woodsmoke, wet bracken, the faint sweetness of tin wax gone soft in a warm porch. Barbour, Belstaff, the old Halley Stevensons cloth on a farmer's coat handed down twice, they all reach a point where the rain stops beading and starts soaking through the shoulders instead. That's not the end of the jacket. It's just the point where the wax has worn thin, usually at the collar, cuffs and the backs of the arms where fabric flexes most.
Reproofing at home isn't difficult, but it rewards patience more than muscle. Most people rush the cleaning stage or overload the wax and end up with a jacket that looks patchy or feels tacky in warm weather. Done properly, over an afternoon with the heating on and newspaper down on the kitchen floor, a tin of wax and a hairdryer will get you most of the way back to weatherproof. Here's how to do it without making a mess of a coat that's probably outlasted three winters already.
Cleaning the jacket before you touch any wax
Wax won't bond properly over mud, salt or old grime, so cleaning comes first, always. Fill a bucket or basin with cold water, nothing warmer, because heat can start softening the existing wax coating unevenly before you're ready to work on it. Never use a washing machine. The agitation strips wax from the fibres and can damage stitching at the seams.
Sponge the jacket down with a soft cloth or a natural bristle brush, working in the direction of the weave rather than scrubbing in circles. For stubborn mud around the hem, a specialist product like Barbour's own Wax Cotton Cleaner or a mild saddle soap works better than washing-up liquid, which can strip too much wax and leave the cotton feeling bare underneath. Rinse the cloth often and keep the water cold throughout.
Hang the jacket to dry naturally, away from radiators or open fires, for at least twelve hours. Damp fabric under fresh wax traps moisture inside the weave, and that's how you end up with a musty smell that never quite airs out. If you're reproofing in October or November, when the air's already damp outdoors, it's worth drying the jacket indoors overnight rather than on a washing line where the moisture in the air undoes the work.
Tools and products worth having ready
You don't need much, but having the right things laid out before you start saves a lot of faffing about with wax on your fingers halfway through.
- A tin of dressing wax made for the fabric you own, Barbour Thornproof Dressing for cotton, or a proofing wax if the jacket has a waxed-oil finish rather than a hard wax one
- An old, soft-bristled paintbrush around 2.5 to 4 centimetres wide, kept aside just for this job
- A hairdryer or, better still, a spare afternoon by a wood-burning stove or radiator
- Lint-free cloths, old cotton tea towels work well
- Newspaper or an old sheet to protect the floor, because wax drips and it doesn't come out of carpet easily
- A clothes hanger with broad shoulders, wooden if you have one, to keep the jacket's shape while it support
Worth noting: not all wax is interchangeable. Thornproof Dressing is a soft paste designed for reproofing cotton like Barbour's Sylkoil range, while some other brands sell a harder block wax meant to be melted first. Check the label on your jacket, usually stitched into the inside pocket, before buying a tin, because using the wrong type can leave the fabric stiff and prone to cracking along fold lines within a year or two.
Warming the fabric for even absorption
Cold wax on cold fabric sits on the surface rather than soaking in, which is the main reason home reproofing jobs look patchy. The fabric needs to be warm to the touch, not hot, before you start applying anything.
A hairdryer on a medium setting held about 15 centimetres from the fabric works well for small sections at a time, the collar, then one sleeve, then the body. Some people prefer to hang the jacket near a radiator for twenty minutes first, which warms the whole garment evenly and means less stopping and starting with the hairdryer later. Either way works, but avoid direct heat from an open flame or a hob, and never put the jacket in an oven, however tempting that sounds when you're in a hurry.
Work in a room around 18 to 21 degrees Celsius if you can manage it. A cold garage or an unheated shed in January will make the wax go on lumpy no matter how carefully you apply it, because the wax itself stiffens in the cold before it even touches the cloth.
Applying wax without overloading the seams
This is where most home jobs go wrong, not through carelessness exactly, but through good intentions. People see a worn patch and pile more wax on it than the fabric can hold.
Scoop a small amount of wax onto the brush, about the size of a large pea, and work it into the fabric using small circular motions, following the grain of the weave. Build up in thin layers rather than one thick coat. Pay particular attention to the areas that wear fastest: the shoulders where a rucksack strap sits, the cuffs, the collar, and the front where the zip or buttons meet the fabric. These spots lose their proofing well before the back panel does.
Seams need a lighter touch, not more wax. Wax that pools in the stitching holes can eventually rot the thread over a few seasons, so use the brush tip to work a thin film along seam lines rather than pressing wax into the stitch holes directly. If you're reproofing a jacket with a corduroy collar, like many Barbour styles, keep wax off the corduroy entirely; it's meant to stay soft and absorbent against the neck, not waxed.
| Area | Wax amount | Notes |
|---|---|---|
| Shoulders and yoke | Moderate | Highest wear from bags and rain runoff |
| Cuffs and hem | Moderate to generous | Frequent contact with gates, saddles, undergrowth |
| Seams and stitching | Light, thin film only | Avoid pooling in stitch holes |
| Corduroy collar | None | Leave unwaxed |
| Body panels | Light | Usually the least worn area |
Curing time and where to hang the jacket
Once every section has been waxed and warmed through with the hairdryer, the jacket needs to cure. This isn't the same as drying; it's the wax settling into the weave and losing its tackiness on the surface.
Hang the jacket somewere with steady airflow but no direct sun, a porch, a utility room, or a garage with the door cracked open works well. Direct sunlight can cause the wax to melt unevenly and run, especially on warmer spring days when you might think outdoors is the sensible option. Leave it for at least 24 hours, though 48 is safer if the room is on the cooler side.
Resist the urge to wear it the next morning even if the forecast says rain. A jacket that hasn't fully cured will transfer wax onto whatever's underneath it, a jumper, a car seat, the inside of a rucksack, and the proofing itself won't have had time to bond properly, which means it'll wear off again within weeks rather than lasting the season.
Common mistakes that leave patchy results
Most disappointing reproofing jobs come down to a handful of avoidable habits rather than bad luck or a faulty tin of wax.
- Skipping the cleaning stage and waxing over old dirt, which stops the new wax bonding evenly
- Applying wax cold, straight from a tin left in a cold shed, so it sits in clumps rather than spreading thin
- Overloading seams and cuffs, which leads to a stiff, shiny finish that cracks with wear
- Rushing the cure time and wearing the jacket too soon
- Using a wax meant for a different fabric type, softening a cloth that was meant to stay firm, or leaving a soft-oil finish too dry and prone to cracking
How often reproofing is actually needed
There's no fixed rule here, and anyone who tells you it's every six months exactly hasn't spent much time actually wearing one of these jackets. It depends far more on use than on the calendar.
A jacket worn most days through an English winter, dog walks on the marsh, feeding livestock before work, standing at the school gates in the drizzle, will likely need reproofing once a year, often around September or October before the wet weather sets in properly. A jacket kept mainly for occasional weekends or shooting days might go two or three years between treatments. The tell is water beading versus water soaking in: run the jacket under a tap or wait for a proper downpour, and if the water sits in beads and rolls off, the proofing's still doing its job. If it darkens the fabric and soaks through, it's time.
If a jacket's genuinely old, inherited, bought secondhand from a market stall, or the fabric's cracking along the fold lines rather than just losing its water resistance, it might be worth taking it to a specialist reproofing service before attempting a home job. Barbour and a few independent workshops offer a professional rewax and repair service that can also patch torn linings or replace corduroy collars, which is sometimes the better call for a jacket with real sentimental or resale value rather than risking a heavy-handed home attempt.
For most everyday jackets though, a Sunday afternoon, a tin of dressing wax and a bit of patience with the hairdryer will see it through another few winters on the allotment, the school run, or wherever else it earns its living.